Lab 1 - Introduction to High Performance Computing
How to login to ETAIS, add SSH key and setup FreeIPA account
In this lab, we'll be taking a look at a cloud service called ETAIS. ETAIS is developed here in HPC by the dev-team and it aims to provide a self-service environment for requisitioning and using various computational resources for Estonian students and researchers.
An ETAIS invitation should be in your mailbox. Invitations were sent to your firstname.lastname@ut.ee email addresses. Read the invitation. It should state that the High Performance Computing Course - LTAT.06.026 has invited you to join a project. To accept, click on the link inside the email.
The following section of the lab will reference heavily HPC's official documentation, which are available at docs.hpc.ut.ee - this is by design. You should familiarize yourself with the docs as they will help you navigate your way around the different capabilities of the cluster.
Complete
- Click on the link in the invitation
- Login by clicking
Sign in with MyAccessID - After that, search for your institution (University of Tartu) and enter your (UT) username and personal password.
- NB! If this is your first time logging in with MyAccessID, it will guide you through a signup process.
- NB! If you prefer, other options such as ID card, Mobile ID, or another institution's username and password, and so on, might also work, but it is up to you to get them working.
- If you can't find the e-mail in your UT mailbox, go to the personal mailbox you provided to University as the primary contact e-mail and look for an e-mail from
selfservice@etais.ee. - If you're still having trouble please contact your lab instructor or Rasmus Mirma (slack)
Verify
If you have successfully logged in, you should see the ETAIS Dashboard similar to the image below: 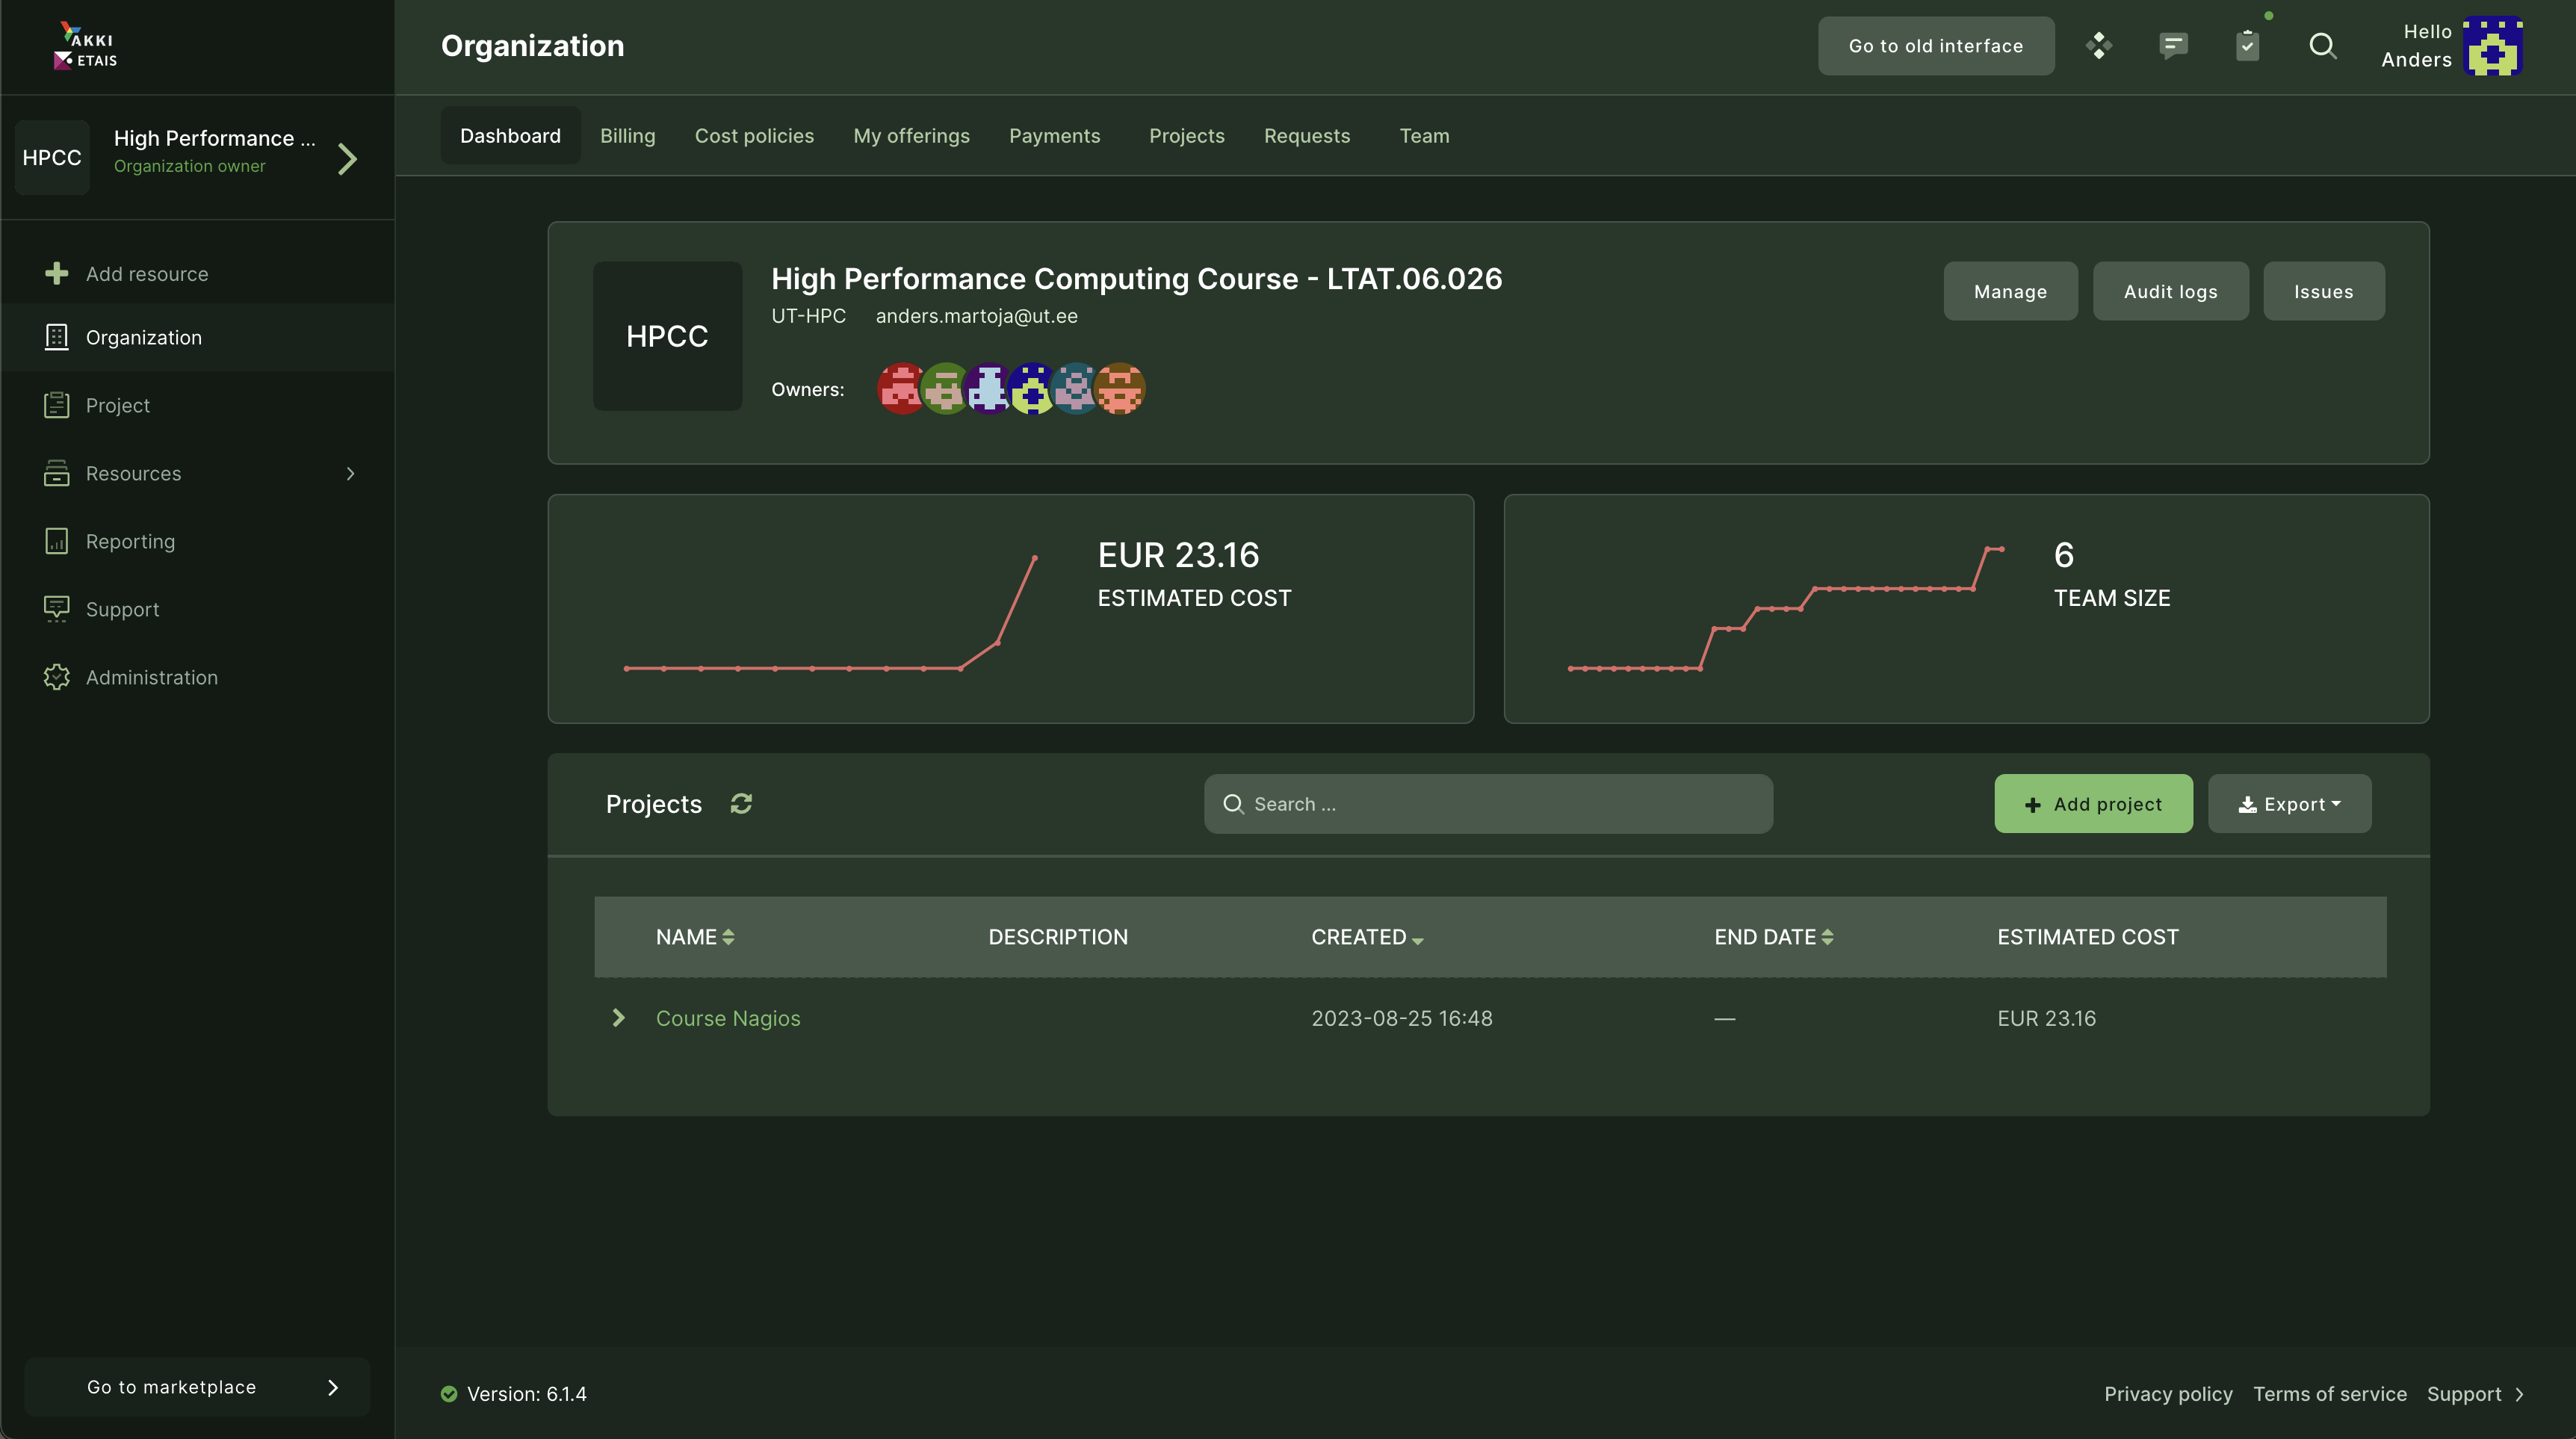
After successfully logging into to the ETAIS environment, the next step is to add an SSH key. This will make accessing resources provisioned through this self-service portal more seamless.
Generating key pair and uploading the public key to the SSH server
Attention
This part has to be done on you personal Laptop/PC
- Open command line
- Use
ssh-keygencommand to generate the 4096 bit long RSA key (try to figure out the proper command options you want to use. If asked where to store the key use the default location of:${HOME}/.ssh/id_rsa- If asked about a password you may consider protecting the private key using a passphrase for stronger security, but it is also OK to leave it empty (in this case the private key has to be kept really secret).
- Now two files should be added into
.ssh/directory of your home folder:id_rsawhich is a private key and should be kept secret (by the way what are the proper permissions assigned to the file ?)id_rsa.pubwhich is a public key and may be shared (by the way what are the proper permissions assigned to file ?)
- Once the key pair is generated we may set up the SSH server to use public-key authentication:
- Copy public-key to memory and then continue with Manual on where to paste it in ETAIS:
$ cat ~/.ssh/id_rsa.pub
- Use PuTTYgen application to generate the key pair:
- Download PuTTYgen
- Set the password for the private key and save it to your computer.
- Copy the PuTTYgen
(public key) outputand paste it to theETAIS(next part in manual). -
NB! Do not save the public key into a file and copy it to the server, it will not work, it has a different format.
- PuTTYgen info
Copy the public key to ETAIS
Important
Follow HPC's offical documentation on how to add your SSH public key into ETAIS
Adding a public SSH key to a profile
Adding HPC resource to the project and activating FreeIPA account
Note
When setting FreeIPA username follow the format suffix hpc_ + <Your-UT-username>
Important
Follow HPC's official documentation to order HPC resource and activate FreeIPA account. NB! You can not buy the resource, the final step of the checkout will be "Request Approval". TAs will receive notifications about your request and approve these!
Adding HPC cluster nodes / Rocket cluster account
Logging into the cluster with ETAIS account
Complete
- In ETAIS click on the resource you have ordered.
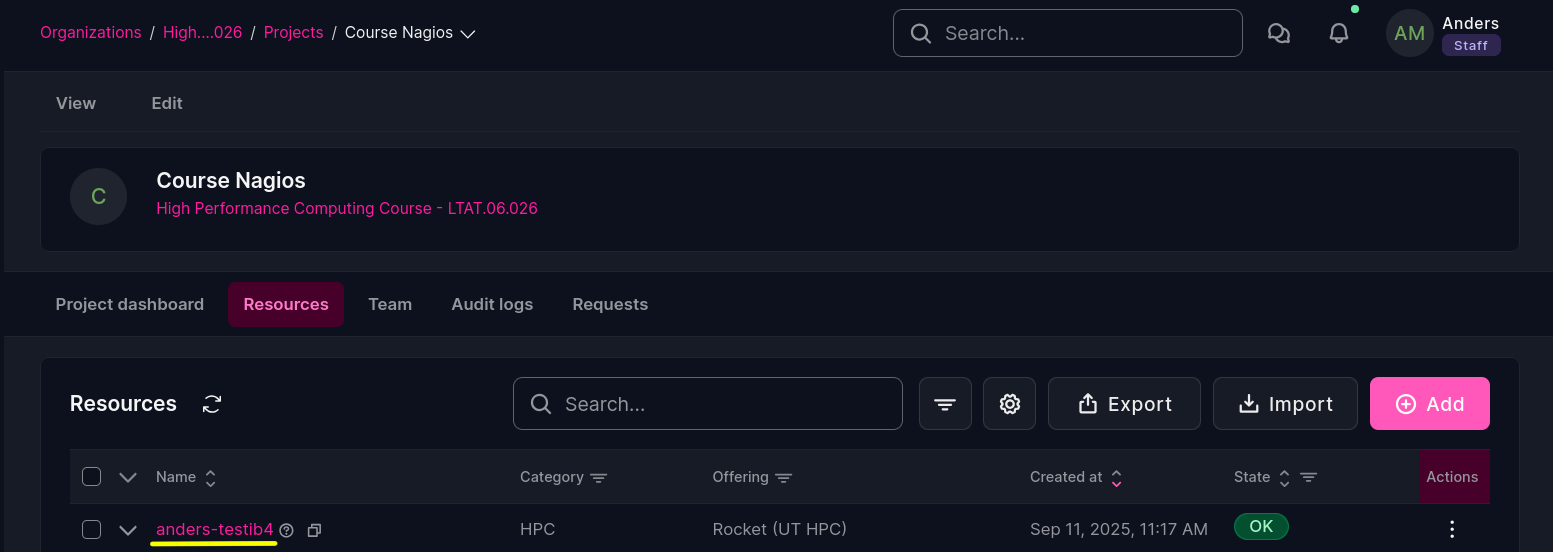
- The view, that opens is a Getting started page, which contains the important
sshcommand with the right parameters for your connection to Rocket in section 1.a
- NB! SSH requires a termial via PuTTY, WSL, or linux
- NB! In section 4 we have underlined
-A ealloc_something. This is the allocation, that ties your account and your resource together. It is unique for each resource.
Verify
If the terminal prompt changes to something similar to this: hpc_anders_myaccessid@login1 then welcome to HPC's Rocket Cluster! 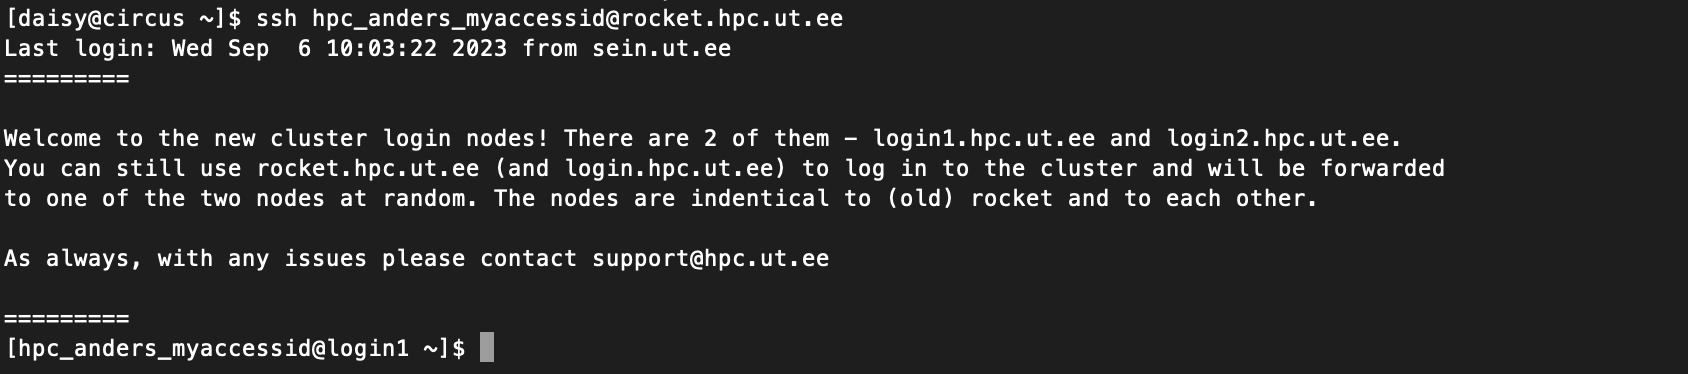 NB!
NB! login1 and login2 are Rocket cluster's login nodes.
scoring.hpc.ut.ee
Important
The scoring will be set up during the time of the first lab. You can do the lab before the time of the first lab but you will not be able to get feedback from scoring.
Up to this point nothing about this lab has been graded. This changes from this point onwards.
This course utilizes automatic tests written specifically for this course.
Info
These tests could be mistaken, if one has doubts about the correctness of the automatic tests, one should contact lab supervisors and pass on these doubts and questions.
Important
- Scoring site is only available inside the university network.
- Scoring site is available at scoring.hpc.ut.ee.
- You can use VPN to access it from outside the university network. The guide for that can be found at UT wiki.
Tip
Courses > Top-right dropdown > My data > Find your Pseudonym next to course with the code LTAT.06.026.
Once you access the scoring site, look for Host Groups on the left side panel. When you click on it, a new view appears, you will be presented with a list of Hosts. Your username is also there, but in an anonymized form. You can receive your anonymized username from Courses. When everything is green to the right of your anonymized username then you have completed said lab.
Each week we will add more tests that correspond with said week's topic.
These checks are written in a manner where they scan the project folder which you have been granted access and you work in for the duration of this course. Scoring.hpc.ut.ee site scans for directories, files and their contents - these scans take few minutes to run in order not to spam the filesystem access I/O unnecesarily.
Remembering *NIX
During this week we will revise basic unix commands and submit few jobs. We will cover how to move around the cluster, where is the your home directory located, where is the project directory located. Move around between these two. Create a few directories and several files which we will fill out to make scoring.hpc.ut.ee all green.
Movement
For this part of the lab we will print out the working directory a couple of times to see where we are at any given point in time. Look at file we have in directories we visit and change the directories a few times.
pwd command is short for print working directory which just print out a string that shows our location relative to the root of the file system.
cd command is short for change directory which lets us move around the file system when provided with a location argument, similarly to the output of pwd command.
ls command is short for list directory contents. It lets us browse around directories in a text based environment.
Let's get started.
Complete
- After login let's figure out where we are we located in the cluster - your
home directory. By usingpwdcommand.pwd- The output should be something like this
/gpfs/helios/home/etais/hpc_<your-username>
- Lets go to the
project directory, where we will be conducting this course in. By usingcdcommand.cd /gpfs/space/projects/hpc-course/- Lets see what is inside here. Lets utilize the
lscommand here. What do you see?
The block was purely warmup but we established two things. We can check where we are and how to go to another directory. We left the previous exercise block being located in /gpfs/space/projects/hpc-course/. How could we change directory back to our home directory /gpfs/helios/home/etais/hpc_<your-username> ?
Creating a directory
Up next we will create a directory, that will be checked by scoring server. We will revisit the cd and ls commands and learn a new one.
mkdir command is short for make directories. Let's just create new directories.
Complete
- Go to
/gpfs/space/projects/hpc-course/. - Create a directory
<your-username-from-etais>e.g.hpc_anders_myaccessidmkdir <your-username-from-etais- Go inside the directory you created
- Create another directory called
lab1mkdir lab1
- Go inside
lab1directory - Make sure
lab1is empty. Uselscommand.
Verify
- Check scoring.hpc.ut.ee the test which checks for
lab1directory's existence should turn green.
During this subsection we created two directories <your-username-from-etais and lab1 inside the project directory /gpfs/space/projects/hpc-course/, as the lab progresses we will continue adding files into this directory. Scoring server will check that necessary files are inside these newly created directories.
Creating files and populating them
Next we will create two files and fill them out.
touch - change file timestamps. In our use case, when a file has not existed before, this command can create one.
nano - Nano is ANOther editor. A simple text editor for text based environment.
cat - concatenate files and print on the standard output.\
Complete
- Create a file called
whereishomein/gpfs/space/projects/hpc-course/<your-username-from-etais>/lab1directorytouch whereishome
- Look inside the file to see if it is empty
cat whereishome- The output from the
catcommand should be empty.
- Open
whereishomewithnanonano whereishome- Write the path to your home directory here e.g.
/gpfs/helios/home/etais/<your-username-from-etais> - To save the changes press
Ctrl + x, thenyand finallyEnter
- The file is saved. Look at with
cat
Verify
If everything was done correctly, scroing should show check lab1 dir contains file whereishome with content as green.
Now that we have an idea how to create, view and populate a file, we are going to do it a few more time.
Complete
- Inside
/gpfs/space/projects/hpc-course/<your-username-from-etais>/lab1directory:- create a file named
whereisproject - inside
whereisprojectput the path to the lab1 project directory - create another file
shortestwayhome - inside
shortestwayhomeput this string:cd
- create a file named
Verify
After creating these two files see if scoring turns green.\ Also test out the command cd without parametes. What happens? Hint: use pwd command.
Now that we have created some files and filled them on our own, we should look into how to download files from the Internet.
Downloading a file from the Internet and searching it
For this section lets look at downloading a file from the Internet. More specifically lets download a book from Project Gutenberg webpage. A common command for downloading files from the web is wget. By simply executing wget some-url-here we will be able to download a file from the internet.
wget stands for The non-interactive network downloader.
Complete
wget https://www.gutenberg.org/cache/epub/11/pg11.txt- What is the name of the file you just downloaded?
- Renaming a file after download is an extra step we are not interested in. Instead let's download it under a different filename from the get go.
- What command would you use to rename a file?
wget -O "alicesAdventuresInWonderland.txt" https://www.gutenberg.org/cache/epub/11/pg11.txt
Verify
If your lab1 directory contains a file alicesAdventuresInWonderland.txt with the contents from the URL provided then you check should turn green.
Submitting jobs
Now that we have an idea how to conduct ourselves on the command line, we can finally turn our attentions to the cluster. In this section we will create several files and manually fill them out and finally we will submit said files to the cluster which will execute them.
Complete
- Create a file
lab1-first-job.shinto/gpfs/space/projects/hpc-course/<your-username-from-etais>/lab1/directory - Paste the following script into the file `first-job.sh
#!/bin/bash #SBATCH -J lab1_first_job_<YOUR-ANON-NAME_HERE> #SBATCH --partition=testing #SBATCH --account=ealloc_25e78_hpc_andersm9_myaccess #SBATCH -t 10:00 #SBATCH --ntasks=1 #SBATCH --cpus-per-task=1 #SBATCH --mem=100M #SBATCH --output=%x-%j.out echo "Hello World" - Lets submit this to Slurm with
sbatch first-job.sh - How did it go?
Same thing happens when you copy the example from our docs
Complete
- Let's revisit:
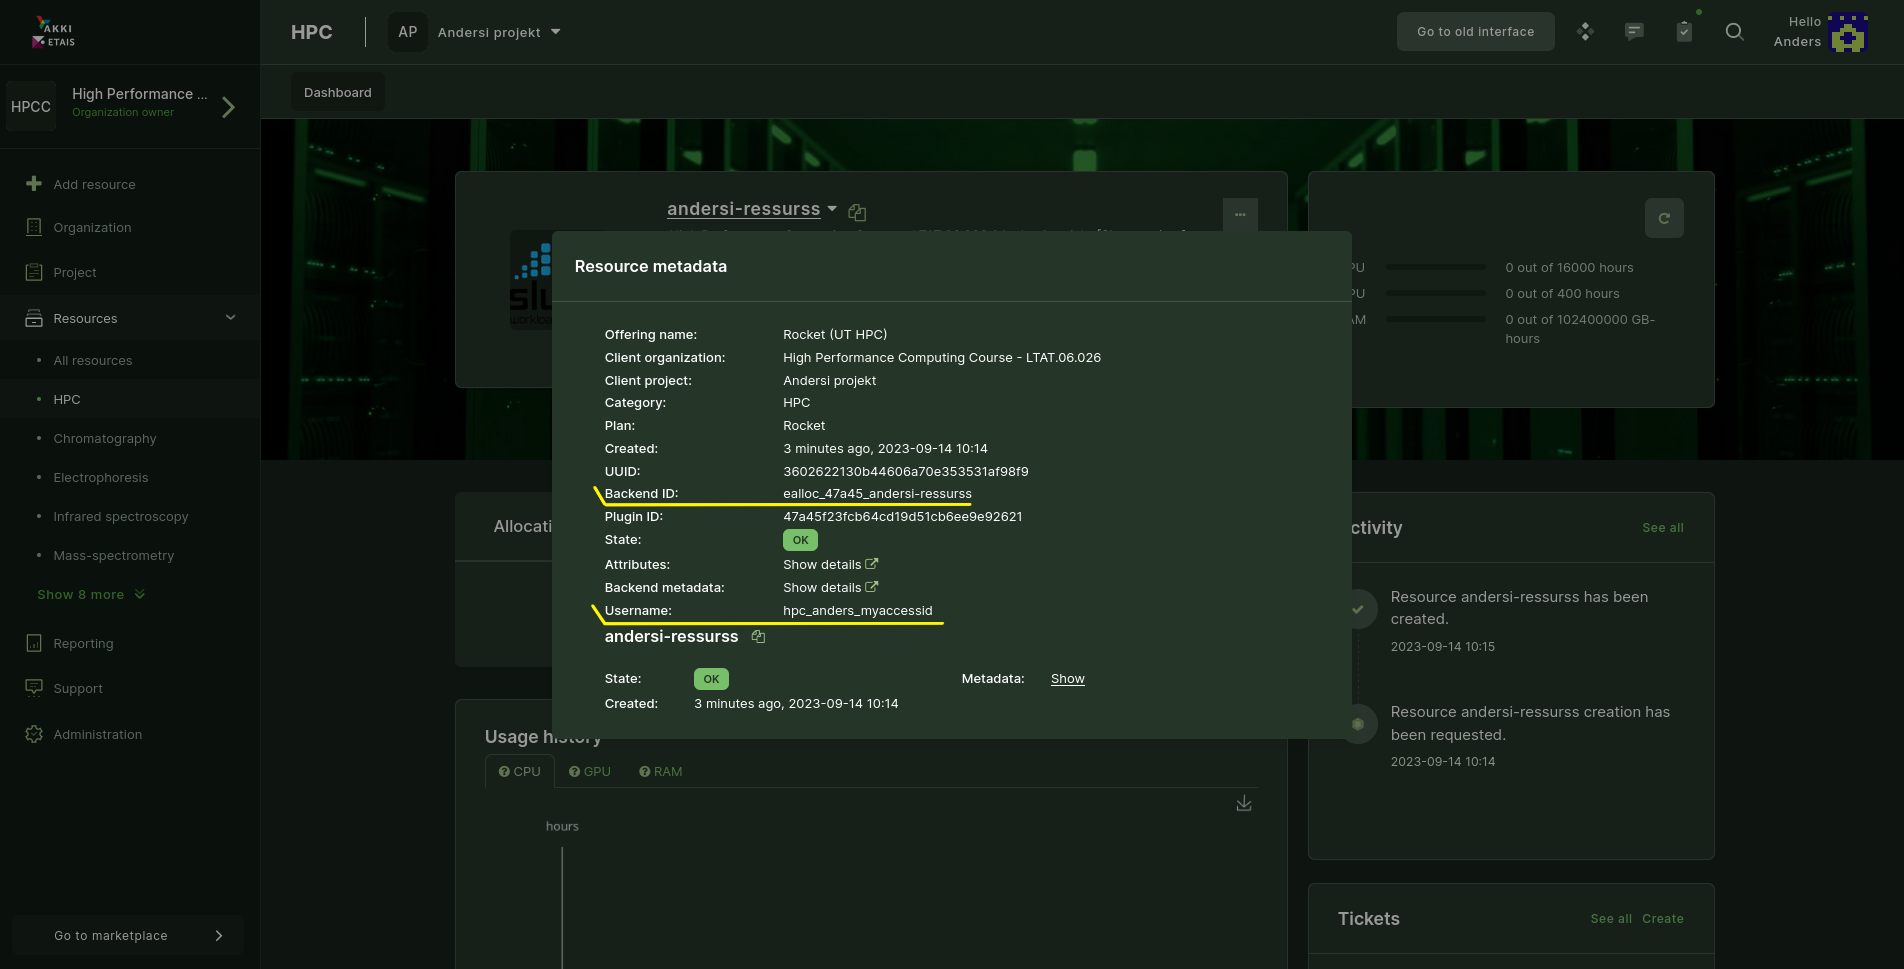
- Copy the
Backend IDand paste it after#SBATCH --account= - Change this bit of the file also
lab1_first_job_<YOUR-ANON-NAME_HERE> - Submit the job again with
sbatch first-job.sh- And wait a bit. Usually within a minute or two a job of this size will get accepted and executed by Slurm.
Verify
- In your project directory you have a file named:
lab1_first_job_<YOUR-ANON-NAME-HERE>-#JOBID.out- It contains
Hello World
- It contains
If the verify step checks out, then your test should turn green any minute now.
We now have a working job script, that we can submit to Slurm and get an output. Let's create another jobscript and show how we can use execute even more stuff within a job. The new script contains three new lines.
bash lab1_hello.sh is just an alternative way to execute bash scripts.
module load python/3.9.12 this line loads up a specific version of python for the job to use. The python script will be executed with this python version.
python lab1_hello.py is a simple way to execute python scripts from command line.
Each of these lines mentioned above could be copied and executed on Rocket individually and they would work for example print the strings into stdout. Since all of these examples are simple and execute fast that's exactly what you could do. Should you want to execute anything that actually requires resources, be that CPUs, RAM, or heavy I/O, put those things into a Slurm script and lets Slurm take care of them.
Complete
- We have file named
lab1_first_job.sh, lets copy and rename itcp lab1_first_job.sh lab1_second_job.sh
- Make the content of
lab1_second_job.shmatch this:#!/bin/bash #SBATCH -J lab1_second_job_<YOUR-ANON-NAME_HERE> #SBATCH --partition=testing #SBATCH -A ealloc_25e78_hpc_andersm9_myaccess #SBATCH -t 10:00 #SBATCH --ntasks=1 #SBATCH --cpus-per-task=1 #SBATCH --mem=100M #SBATCH --output=%x-%j.out echo "Hello World, directly from job launch script!" bash lab1_hello.sh module load python/3.9.12 python lab1_hello.py - Create a file named
lab1_hello.sh - Put the following inside of it:
#!/bin/bash echo "Hello World, from inside the super complex bash script." - Create another file name
lab1_hello.py - Put the following inside of it:
print("Hello World, from inside this fancy python code hacker script!") - Finally, do
sbatch lab1_second_job.shand wait a bit for the output to appear.
Verify
- After the jobs runs:
- Check that you have a file
lab1_second_job_<YOUR-ANON-NAME-HERE>-#JOBID.out - Inside of this file you have three
Hello...statements
- Check that you have a file