jupyter.hpc.ut.ee
jupyter.hpc.ut.ee is UTHPC centre's JupyterHub.
JupyterHub is a multi-user Jupyter server that provides a web-based login and spawns your own single-user server with JupyterLab.
Getting started
JuputerHub is available not only within UT network, but also from the rest of the Internet at jupyter.hpc.ut.ee with your UT credentials. To use JuputerHub, you have to have UTHPC account.
To start your single-user server, you have to choose a profile. Currently, there are several available options:
| Profile | CPU cores | Memory (GB) | Time limit (hours) | Notes |
|---|---|---|---|---|
| Default | 1 | 8 | 6 | |
| Default Mem | 1 | 32 | 6 | |
| Default Long | 1 | 8 | 24 | |
| Default Multi | 8 | 16 | 24 | |
| ML Course | 2 | 16 | 6 | V100 GPU with 16G VRAM |
| ML Course | 4 | 32 | 6 | V100 GPU with 32G VRAM |
| GPU | 2 | 20 | 6 | V100 GPU with 16G VRAM |
| GPU | 4 | 40 | 6 | V100 GPU with 32G VRAM |
| GPU | 12 | 40 | 12 | A100 GPU with 40G VRAM |
| GPU | 24 | 80 | 12 | A100 GPU with 80G VRAM |
| Testing | 1 | 8 | 4 |
Your single-user server spins up a job in Slurm queue on the UTHPC cluster and it might take sometime to start depending on the resource availability. The started single-user server stays up until either you stop it manually or the time limit kicks in.
Note
Closing the tab doesn't close the server.
Important
If you have finished your job, please, stop your server to free up resources for other users and incur extra costs. Note that selecting ’Logout’doesn't free up resources as it keeps your server running (see Stopping a single-user server section).
As Slurm manages the resources for your single-user server. Be aware if you go over the memory limit, your server is automatically killed without warning. You can view the error messages in the corresponding error file ~/jupyter.xxx.log> (’xxx’ represents a Slurm job id).
Stopping a single-user server
Use ’Stop My Server’ button in ’Hub Control Panel’ to shut down your server. Navigate to ’File’ ’Hub Control Panel’. It takes a bit of time to shut down your running server.
Usage
Default software/kernels
- Python 3.12.5 has some preinstalled popular python libraries:
numpy,pandas,matplotlib - R 4.3
Installing libraries/packages
Important
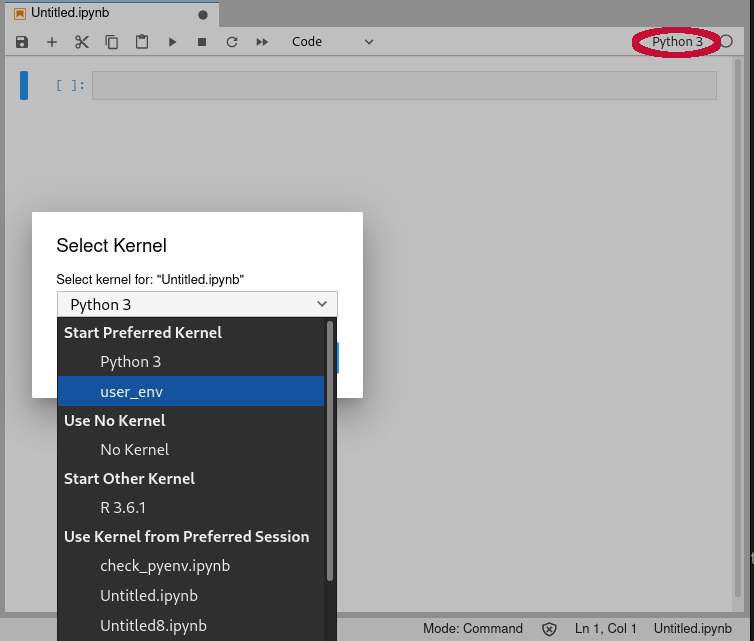
The default Python/R kernels are shared among all Jupyter users, so installing packages directly into them is not allowed. For Python, you should create a virtual environment to manage packages. For R, you can install additional packages into your personal R library within $HOME.
- Login in Jupyter
- Open the Terminal and create a python environment
virtualenv <mypy_env> - Load the environment
source <mypy_env>/bin/activate - Use pip to install
ipykernelpackagepython -m pip install ipykernel - Link the installed
ipykernelwith your environmentpython -m ipykernel install --user --name=<mypy_env> -
Load your python environment as Jupyter kernel
-
Use Terminal and your python environment to add more python packages into the virtual environment. They will be available for Jupyter notebook immediately.
- Login in Jupyter
- Open the Terminal and create a library directory, then close the terminal.
mkdir -p ~/local/.Rlibs - Open a Notebook with a selected R kernel, and install packages to the created directory. NB! If the installation returns a non-zero exit code, consider either installing from HPC or contacting support@hpc.ut.ee.
install.packages("<r_package>", lib="~/local/.Rlibs/") - Use the package, call the function library and specify the same lib option:
library("<r_package>", lib="~/local/.Rlibs/")
Problems and requests
This service is currently in beta and under development. If you notice problems or would like any more extensions or features, then please write to support@hpc.ut.ee .
Please provide the following details:
- Error details from the
~/.jupyter/jupyter.xxxxxx.err>file. - Slurm job id.
FAQ
Server spawning stuck without error.
Simple fix is to refresh your page (’Ctrl’ + ’R’).
Custom plugins for JupyterHub.
You can install these into your custom python/conda environment.
Accidentally closing browser with running Jupyter.
A Jupyter session is automatically saved and survives an accidental browser/tab closure as long as time limit allows. Just re logging into jupyter.hpc.ut.ee .
Server has died.
This may happen if resource usage exceeds the limits, thus Slurm kills your server. Check the ~/jupyter.xxxxxx.err> log file to be sure.
Server seems inaccessible / Can't get to the control panel to restart it.
In JupyterLab, ’File’ ’Hub Control Panel’. If you can't get there, you can change the URL path to /hub/home
’Spawner pending’ upon you request to start.
Wait a bit and return to JupyterHub home page and see if the server has started. Clicking the button twice might cause issues.
See also
- https://jupyter.org .
- Jupyter Documentation .
- Demos and tutorial: https://jupyter.org/try .